Request signed BAA
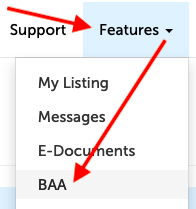
1. Click on the "Features" tab and select "BAA" from the drop-down menu.
2. Use the "Request Signed BAA" button at the bottom, left-hand corner of this page.

3. It may take a minute to generate your BAA, but once that has finished, you can scroll down to read through the BAA in the PDF viewer:
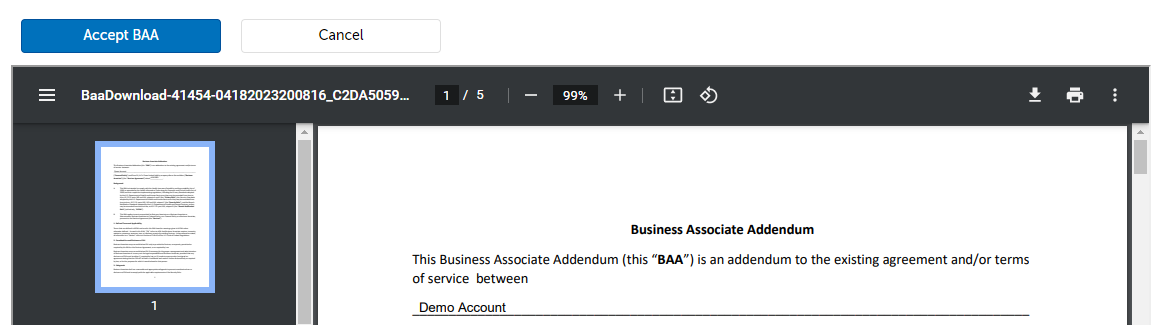
Click "Accept BAA" when you wish to electronically sign the BAA.
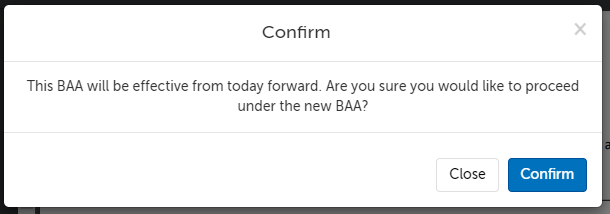
4. Click "Confirm" on the confirmation window that appears.
5. Click "Download" on the new line that appears.

Generate BAA under new name
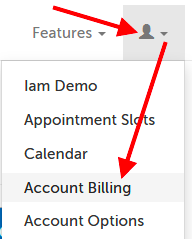
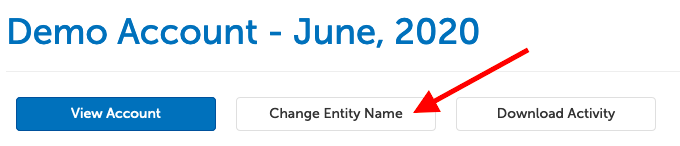
1. Click on the profile icon in the upper right hand corner and select "Account Billing".
2. Click the "Change Entity Name" button near the top of the page.
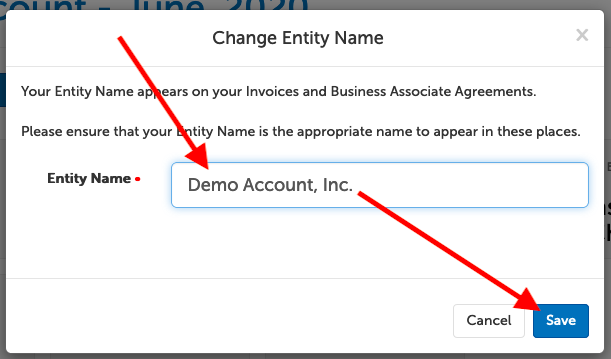
3. Enter the organization name to be used on the BAA and click "Save".
4. Click on the "Features" tab and select "BAA" from the drop-down menu.
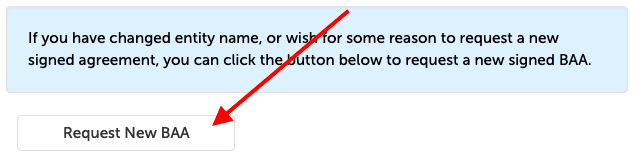
5. Click on the button "Request new BAA" at the bottom of the page. This will regenerate the BAA with the company name.
6. It may take a minute to generate your BAA, but once that has finished, you can scroll down to read through the BAA in the PDF viewer:
Click "Accept BAA" when you wish to electronically sign the BAA.
7. Click "Confirm" on the confirmation window that appears.
8. Click "Download" on the new line that appears.
This article was last reviewed by our Support team on April 18, 2023.